Your 3D model is not altered in any way. Instead Lychee slicer will back out the inner pixels of each slice. By doing this, the printer wont cure any resin in the areas displayed in black in the slicer.
All the other features like the hollowing blockers or the holes are compatible with the hollowing 3D.

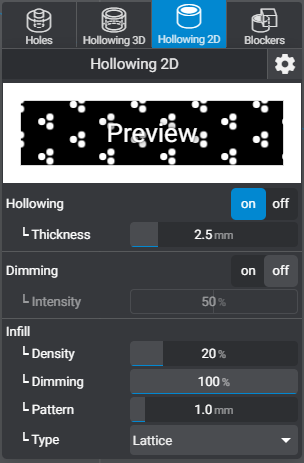
Enable/Disable
When enabling 2D hollowing , all objects in the scene will be effected. To disable 2D hollowing per object this can be done by clicking on the Enable/disable hollowing 2D icon in the Objects Menu.
Thickness
Allows you to set the thickness of the wall between the outer shell and blocked out area represented in black.
Can be set between 0.5mm and 10.0mm at 0.1mm increments.
Dimming

Fade every adjacent pixel in a checkerboard pattern from off -> grey -> on
Can be Enabled or Disabled according to your preference.
Infill
Density
Sets the Percent of the infill that will be converted to an autogenerated support suture.
Can be set to 0% no infill, to 100% full infill.
Dimming
Apply a Gray value to the infill.
Allows you to cure the resin to a softer hardness than the shell of the print. The lower the % the softer the cure will be. Going to a low value will cause the infill structure to not fully form.
Pattern
Set the diameter of each lattice structure that makes up the infill.
Can be set between 0.8mm and 3mm in 0.1mm increments.
Type
Pick the pattern of infill structure.
- Lattice
- Double Lattice
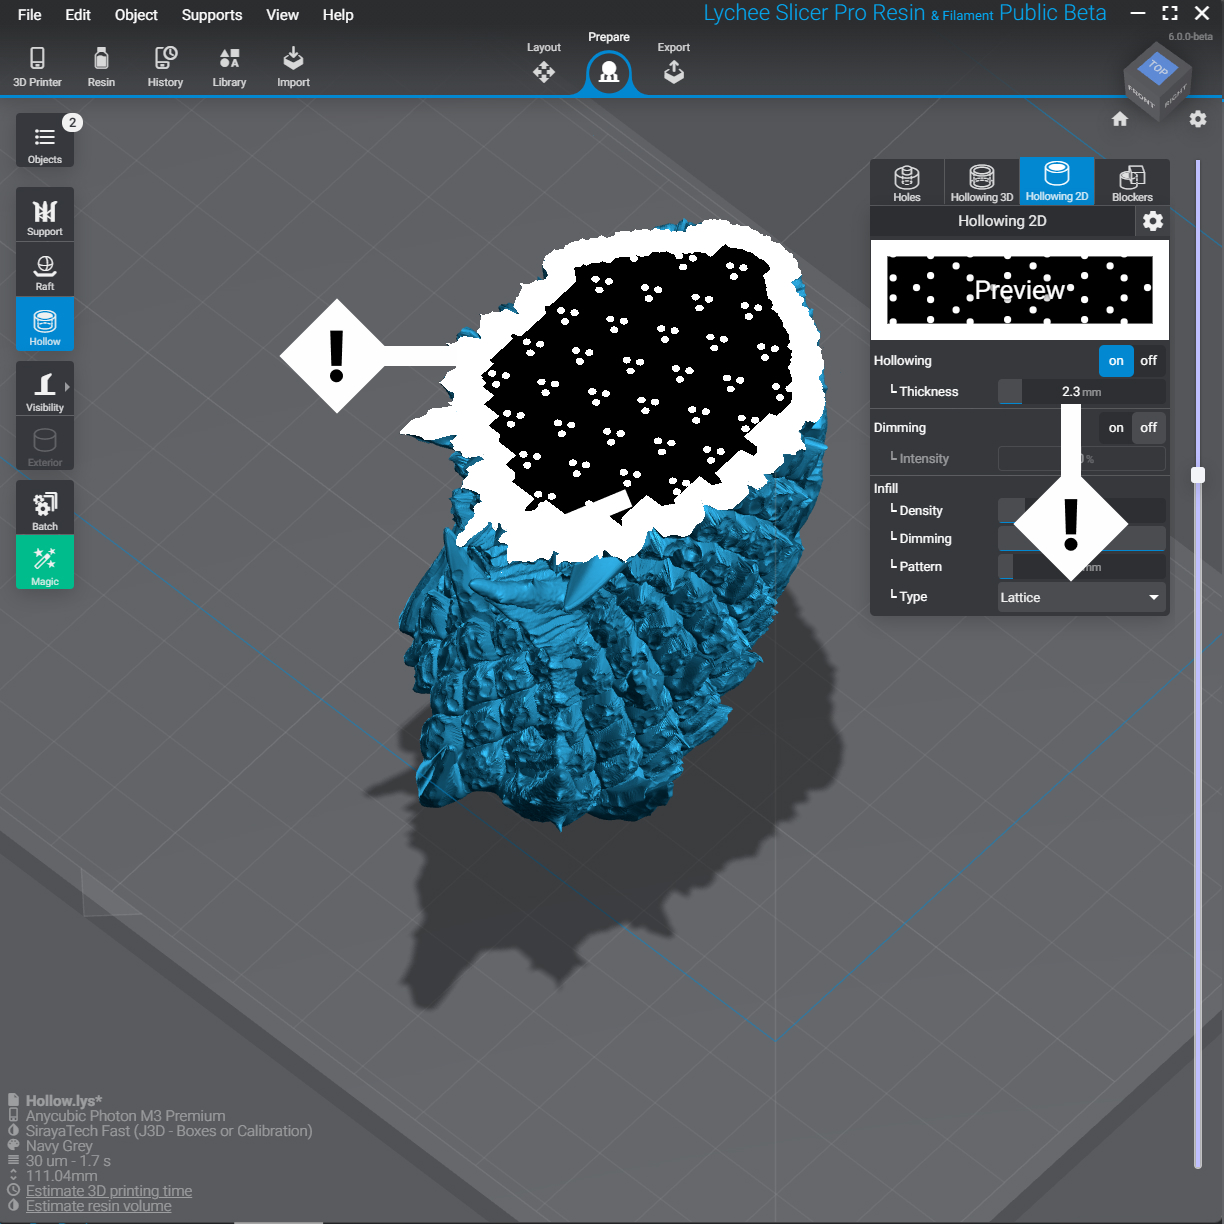
How to 2D hollow an object
Under Prepare, Hollow, Hollowing 2D.
Under Preview toggle the feature ON. This will apply 2D hollowing to all objects in the Lychee Slicer Scene. Unless 3D hollowing has been applied overriding 2D hollowing per object.
Use the sliders or type in your desired settings for Dimming and Infill.
If you have a preset, click the Gear icon to Save or Load your Hollowing 2D preset.
Use the layer slider to review the 2D hollowing effect.
Don’t forget to add drain holes and check for suction cups, continue article for instructions.
The black areas will not be printed when using Lychee Slicer, 2D hollowing cannot be exported.
Last updated on
Tags: Resin