Supporting Small Models
With Small models you can get away with:
- Entire works of art in a single print
- No heavy supports used at all.
- Almost no light supports needed to retain small details.
- No hollowing
Just because you’re printing a small model does not mean you can now use light supports. Medium supports are for keeping shape and holding your print to the build plate. Light supports are ONLY for keeping detail.
Mulan Sword Example
Modeled by https://www.patreon.com/sephon/posts
The blade is not curved at the end, it just looks that way because of how the light passes through it.

In this very small sword and sheath we have some extremely tiny details and a sword that’s under 1mm thick. Using these settings such prints are very possible.
Only light supports are visible, only to preserve details.
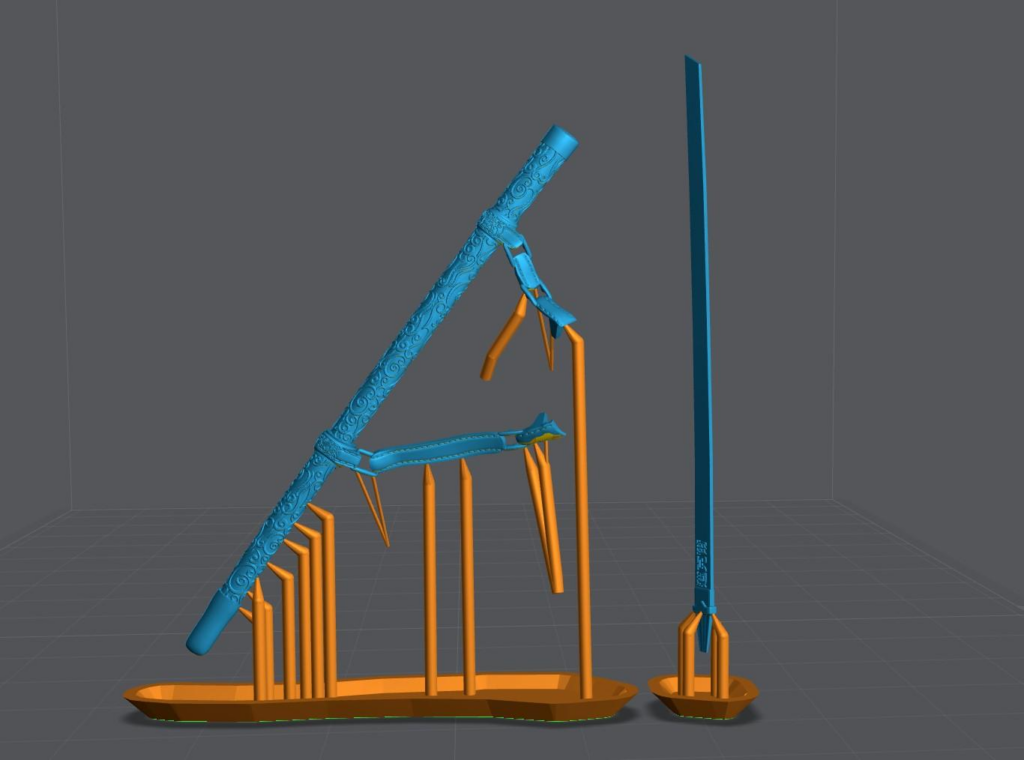
Only medium supports are visible, used to anchor the models.
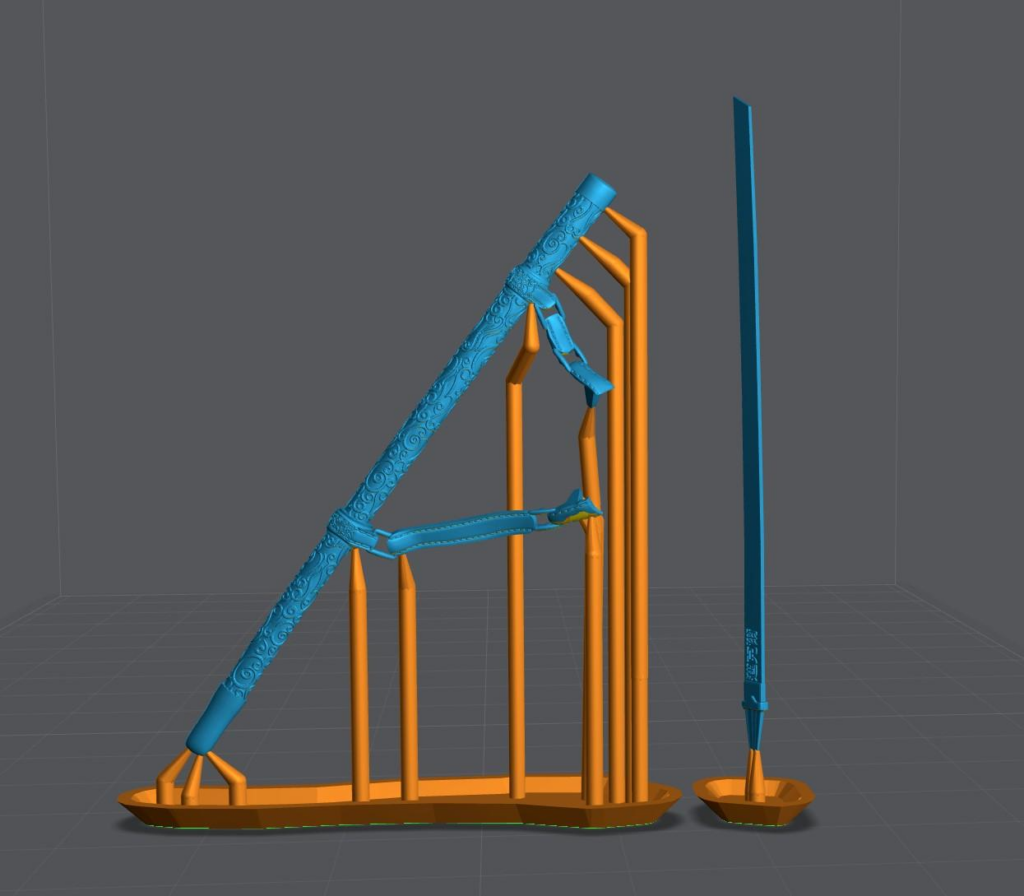
All Supports visible. Scroll back up to get another look at the finished print.
Supporting Medium Models
With Medium models you can get away with:
- Entire works of art in a single print
- One heavy support per model or major outcrop.
- No hollowing on thinner objects
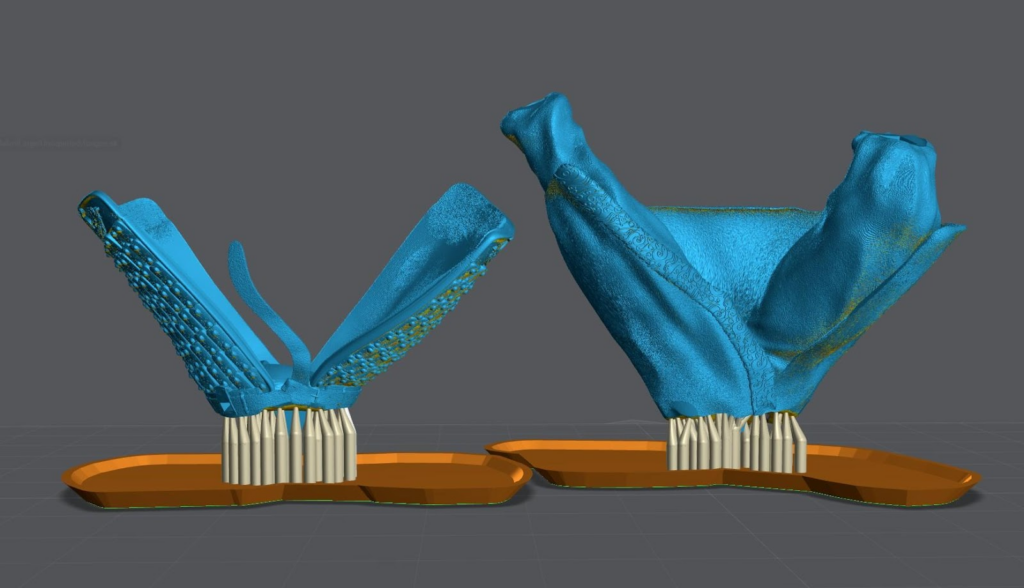
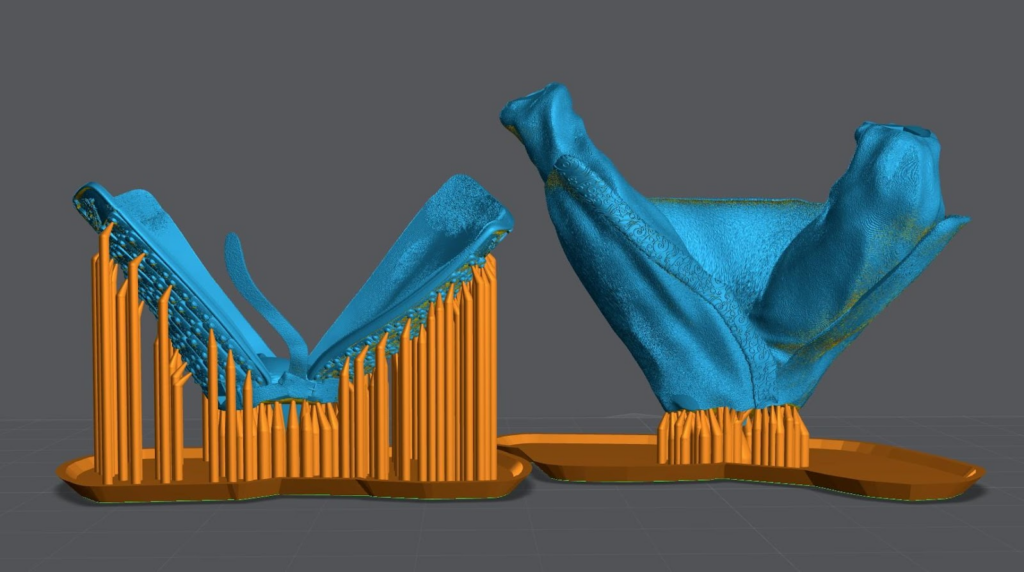
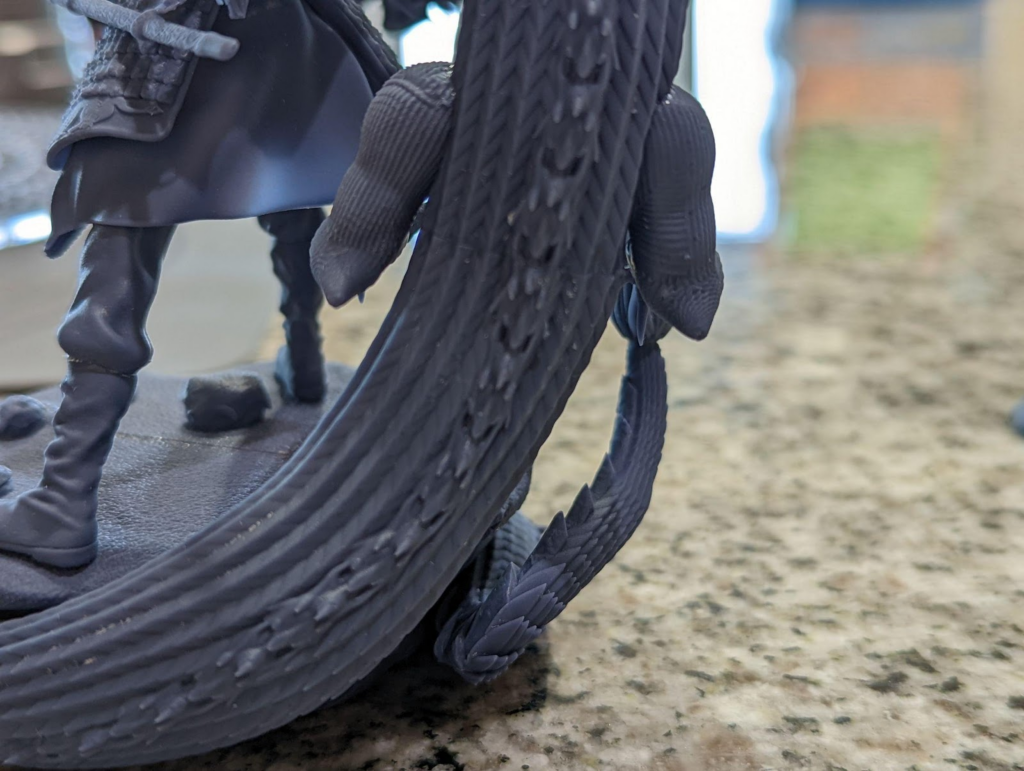
Warrior Example
In this example of two medium models. You can see the use of the Skyscraper method in play. Pay close attention to the average direction of the crystals, shield and cloak.
Also notices how MANY medium supports are used to preserve the shape of the base. Think of a reverse bed of nails. The more nails the less pressure.
There are no heavy supports used. Mini supports used to keep the details of the cloak.
Also pay close attention to the tip of the shield. Always support downward facing tips on multiple sides.


Surface Structure
If you’re trying to preserve the shape of an edge or surface. Place the supports right up to, but not over the edge.
In this example of the base for the TMNT statue I have a complex surface that will be joined to another just as complex. I added a large amount of medium supports with light supports on smaller details like little outcrops in the rocks.
Result before any sanding. I’m holding it with 2 fingers to show I’m not applying pressure to the model, see how there is no stress on the glove.
Mulan Pants Example
The Skyscraper method at work, with the belt and legs.
Only Medium supports are visible, these are anchoring the model to the plate.
Only the Light supports are visible in this, these are ONLY to preserve small details and islands.

This is what it looks like with both light and medium visible.
Supporting Large Models
With large models you can get away with:
- Nothing, these suck.
- Hollow always, unless you have a technical reason not to.
- For models with a massive cross section increase your light off delay by 3 seconds.
- Hollowing may remove the need to add additional light off delay.
Mulan Dragon Example
Only Heavy Supports are shown. Used to anchor the model and used at “Tree Trunks” for medium supports.

Only Medium supports are shown. They are also used as the tree branches at the top of the model.
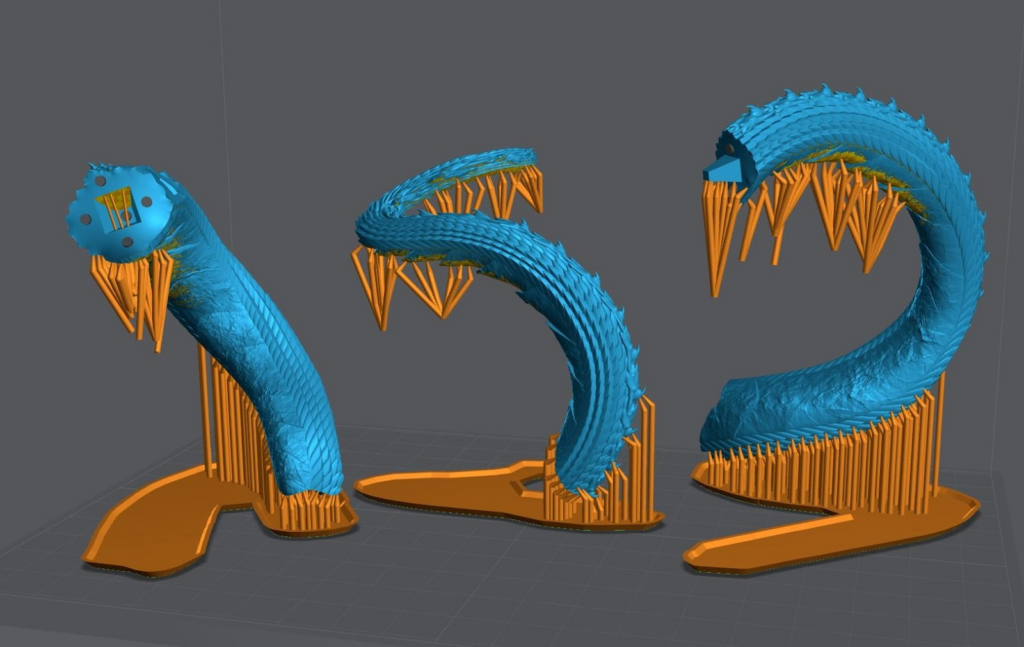
All supports shown. You can see the Trunk and Branches. This is used to cut back on resin used. I typically only do this for taller models where it will make a noticeable cost difference.

Taken at 4x zoom, from the naked eye the seam is very hard to see. After primer and paint it completely disappeared.
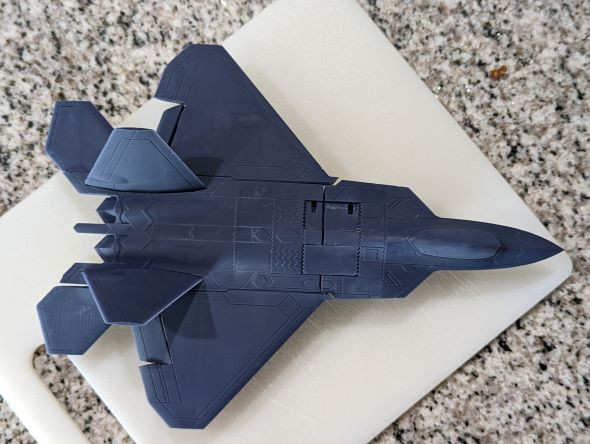
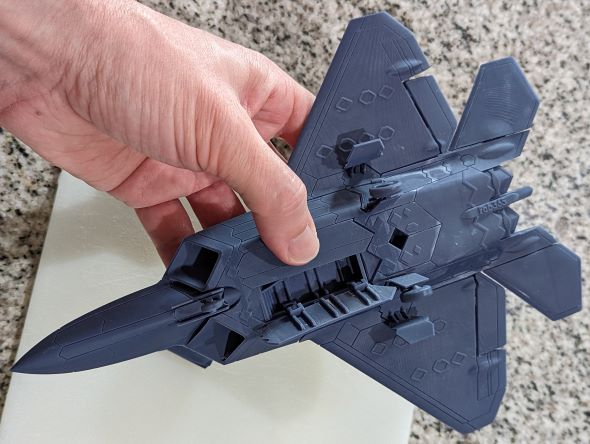
F22 Example
This is a large and tall hard surface object that I could not print on the build plate.

Last updated on