Adhesion to the building surface can be improved in different ways. One of (if not THE) most important thing, for your print to stick to the plate, is to calibrate your printer as perfectly as you can. This will prevent headaches and ensure print quality.
So before any of the following, you need to get your printer properly calibrated, levelled and maintained. To know more about that, please read this article. It covers everything you will need to know to get a nice and clean starting point.
However, the sole calibration/levelling of your printer might not always overcome adhesion issues. Sometimes, your print will need a little help to stay on the plate for your printer to build the upper layers. Otherwise, it may result in your print taking off, or falling, as well as ending up with a spaghetti monster on your plat.
How to make your print adhere to the plate?
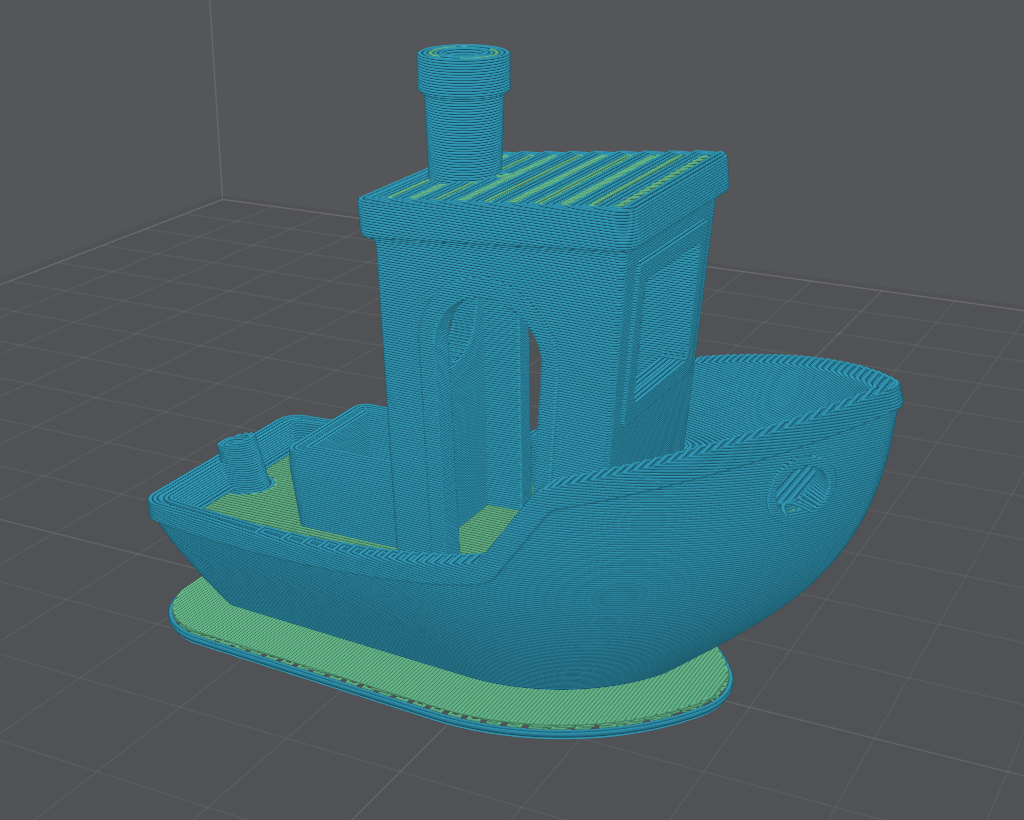
There are 3 adhesion techniques for FDM available in Lychee Slicer.
The Raft
Using a raft is a helpful technique to prevent warping and ensure your print adheres properly to the build surface. A raft consists of a few layers of solid and infill material that you print beneath your actual model.
The purpose of the raft is to provide a stable and levelled foundation for your 3D print. Additionally, if your model has small or delicate features that potentially might not adhere well to the bed, the raft can provide a more secure base for those features.
By using a raft, you add a few layers of solid and infill beneath your print, improving adhesion and minimizing the risk of warping, particularly for prints with challenging geometry or materials prone to warping.
Enable Raft in Slicer Settings

Here’s how to use a raft in Lychee :
In Lychee Slicer, access the print settings for your model in the Override section under the Adhesion panel, select Raft from the Adhesion Type dropdown menu.
Adjust Raft Settings : there are 2 options you can take advantage upon using rafts : Raft Offset and Raft Gap.
Raft Offset
The Offset is the overflow around the object. In other words, it’s the area extending beyond the model.
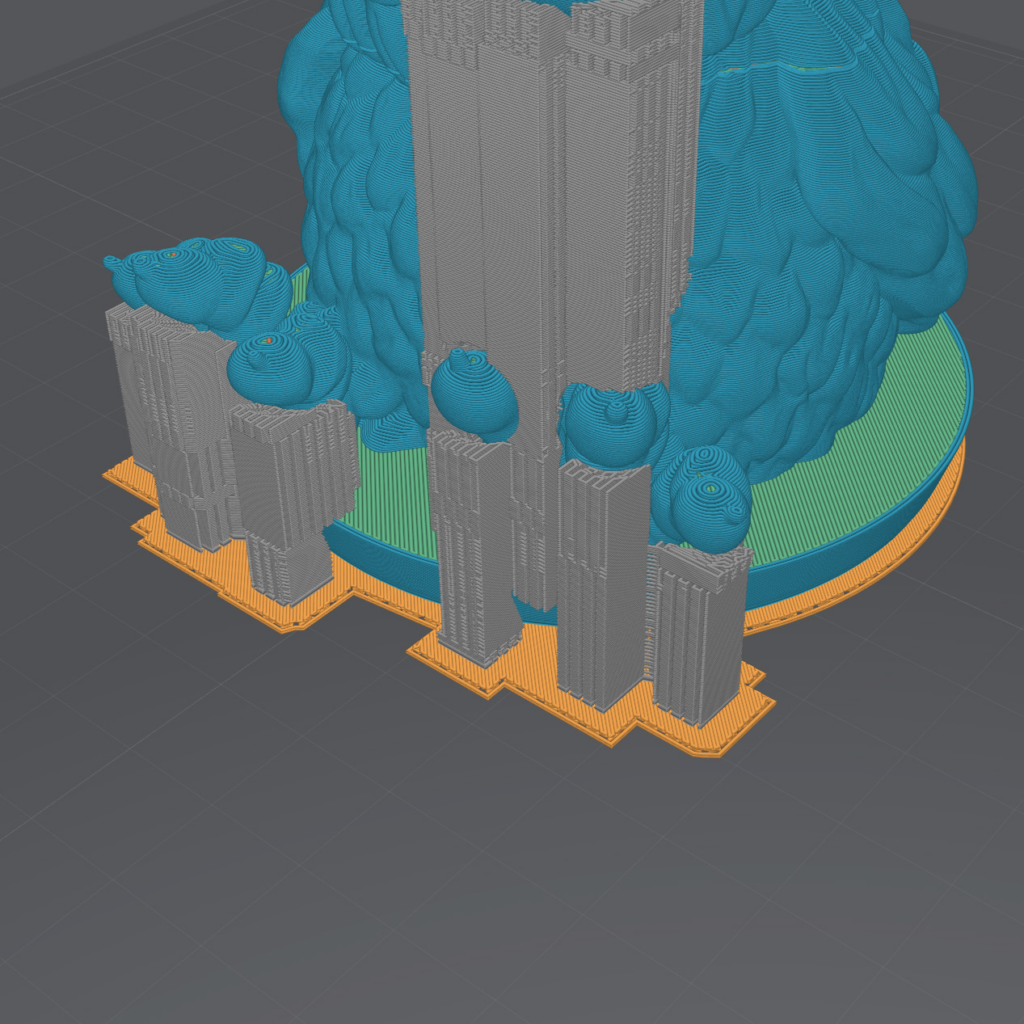
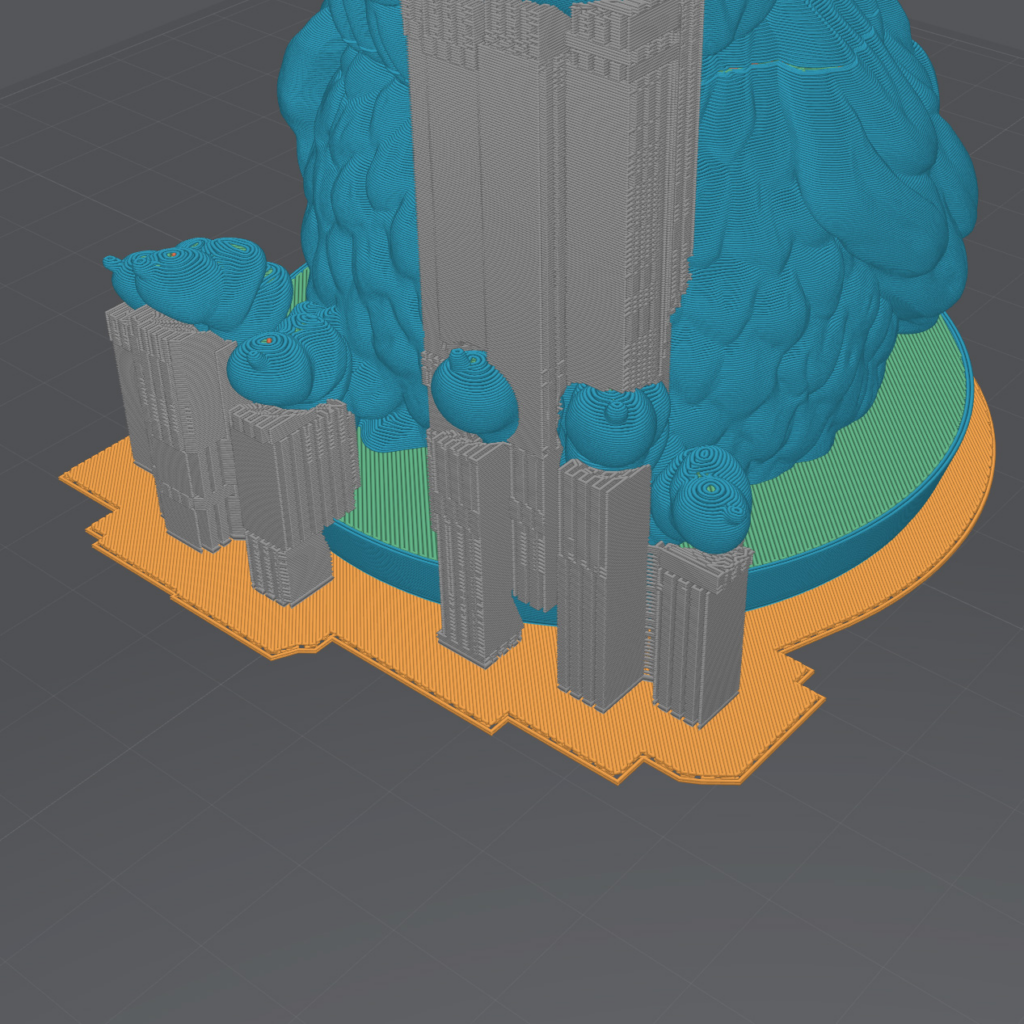
Raft Gap
The model is never printed directly onto the raft. In order to ease the removal of the model from the raft, a slim gap is left between the two. By doing this, the model will not really be attached to the raft, but will only sit on it. This is made so that the print is easier to separate from the raft without damaging it. Feel free to try many raft gaps value to meet your needs and your printer and filament specifications.
The Raft Gap is the distance at which the model will be built above the raft. If you set this value to 0.1 mm for example, there will be a 0.1mm distance between the model and the raft.
In the following screenshot, the Raft Gap is the first layer above the raft itself and is represented by a different sized layer.
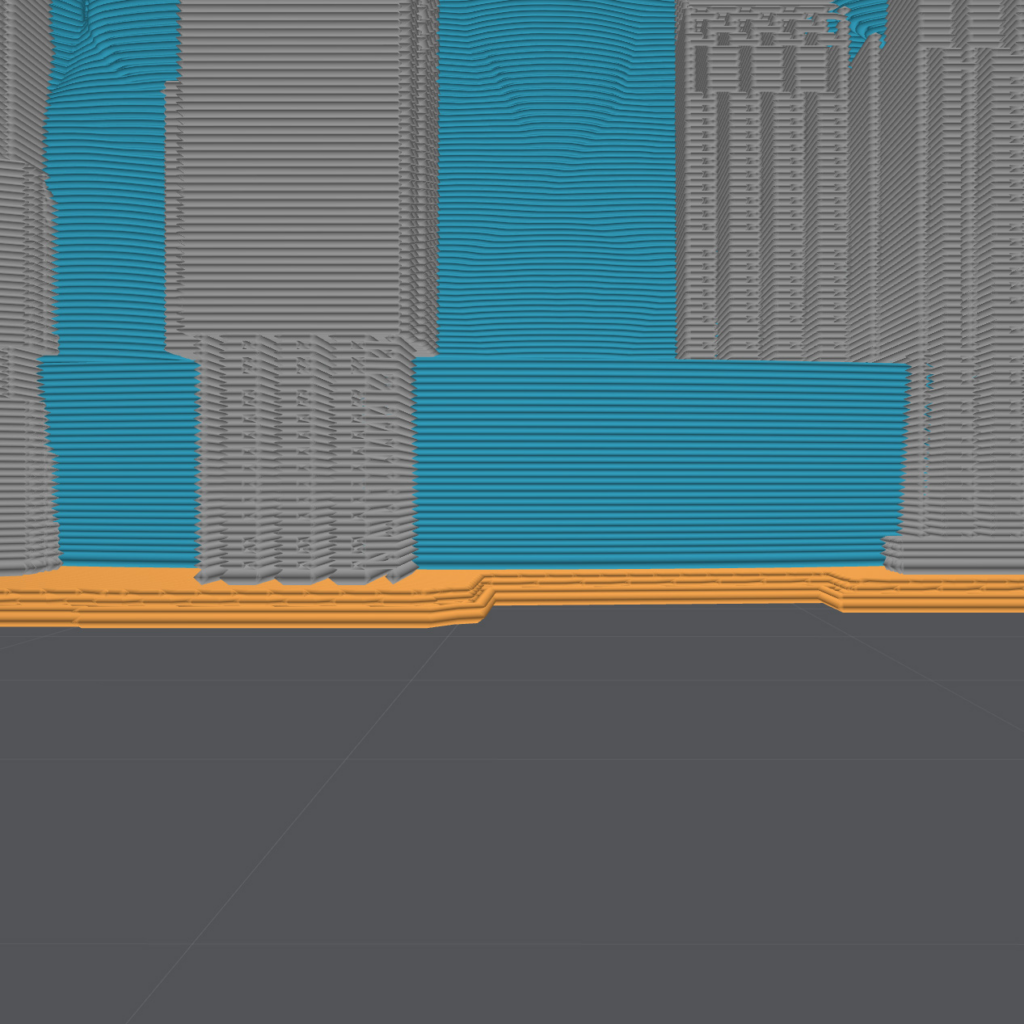
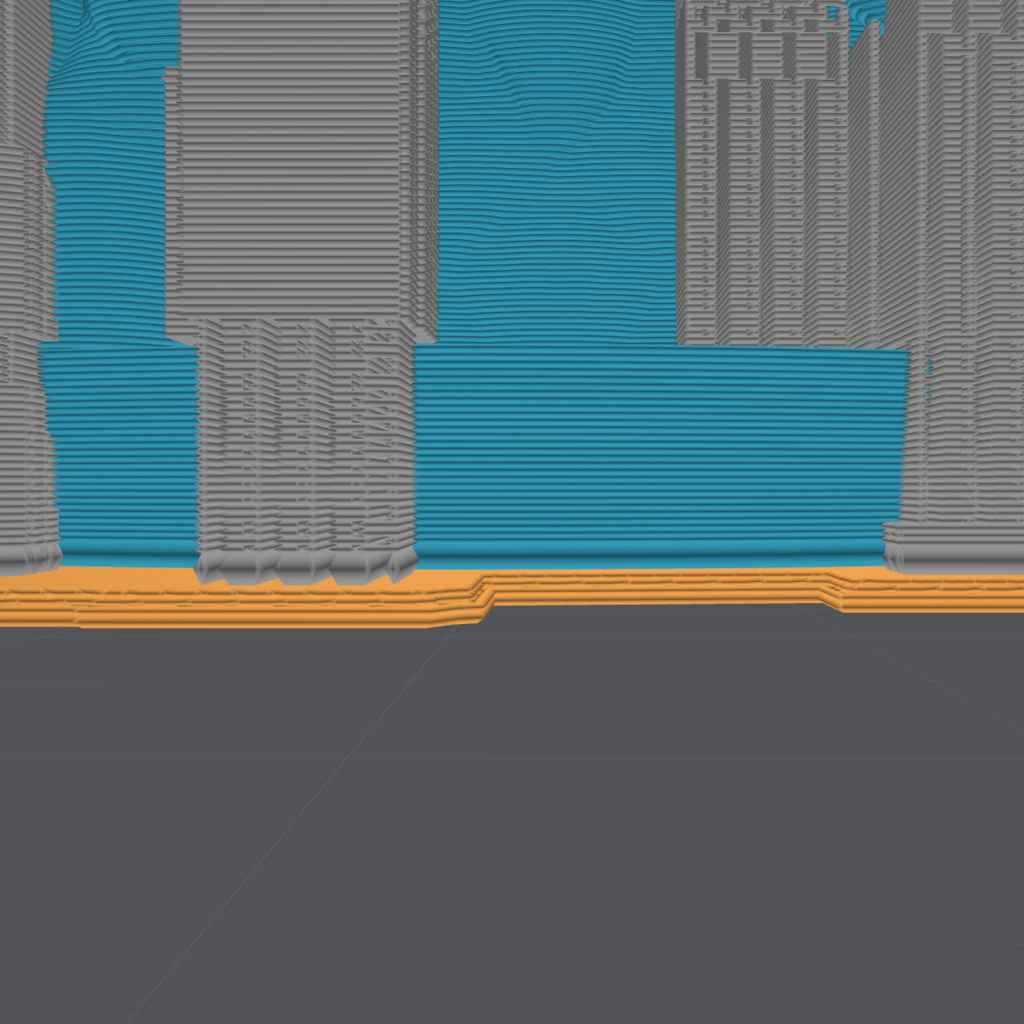
A common setting for a Raft gap would be 0.1mm. It ensures good adhesion to the plate and still allows easy and non-destructive removal of the print from the raft.
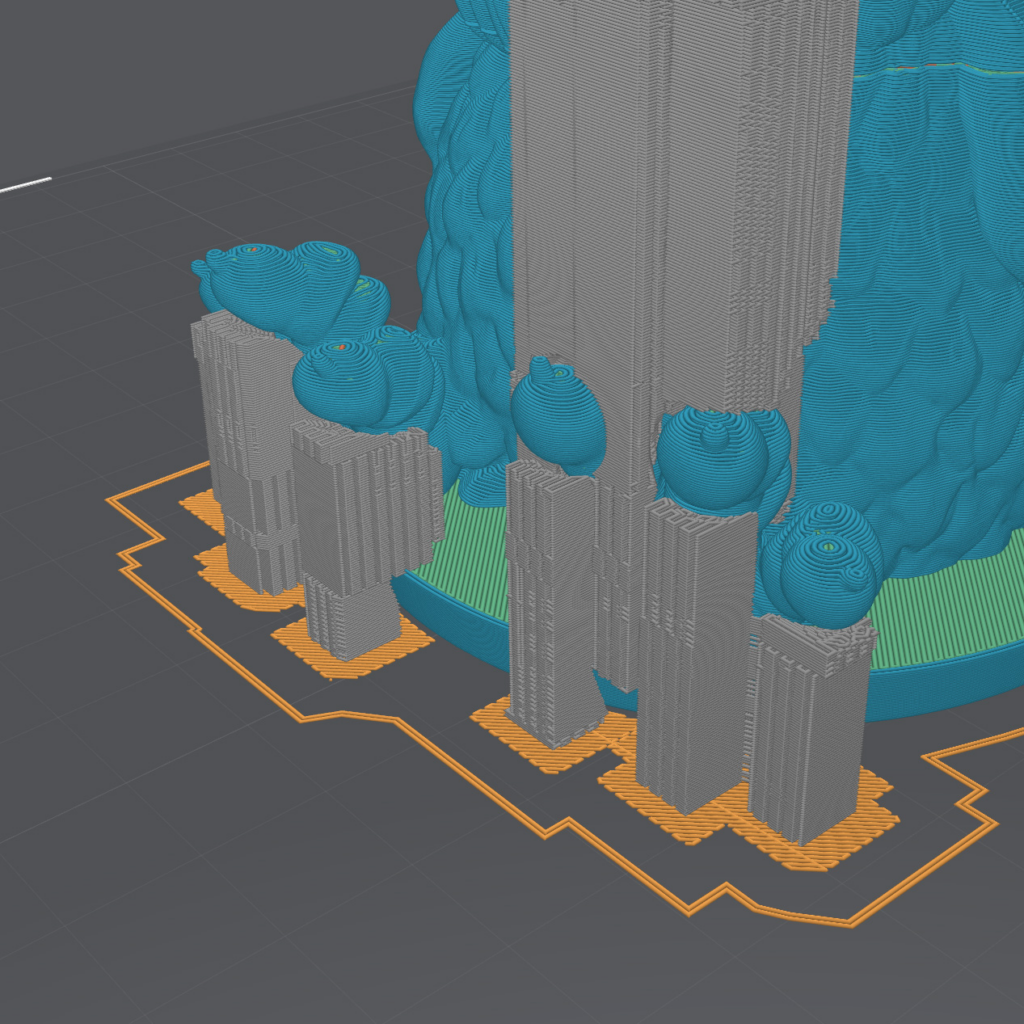
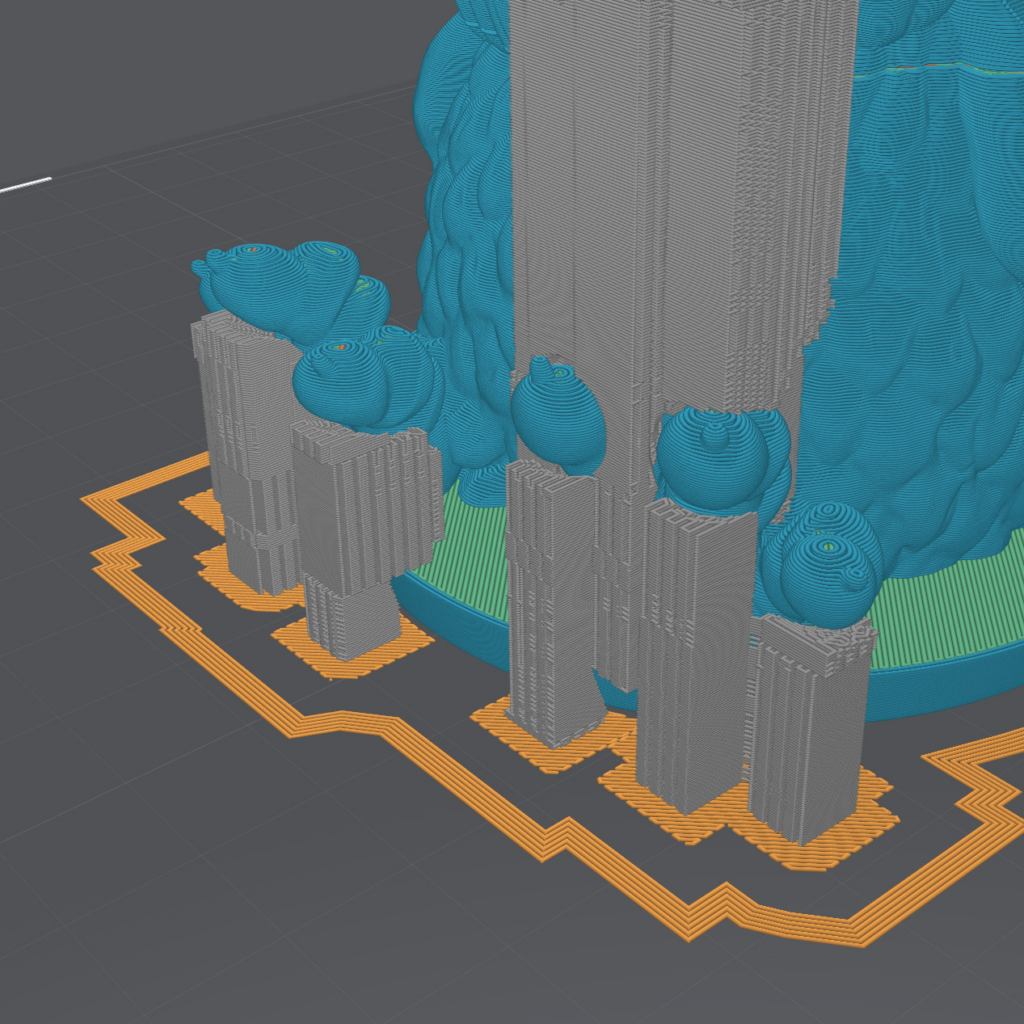
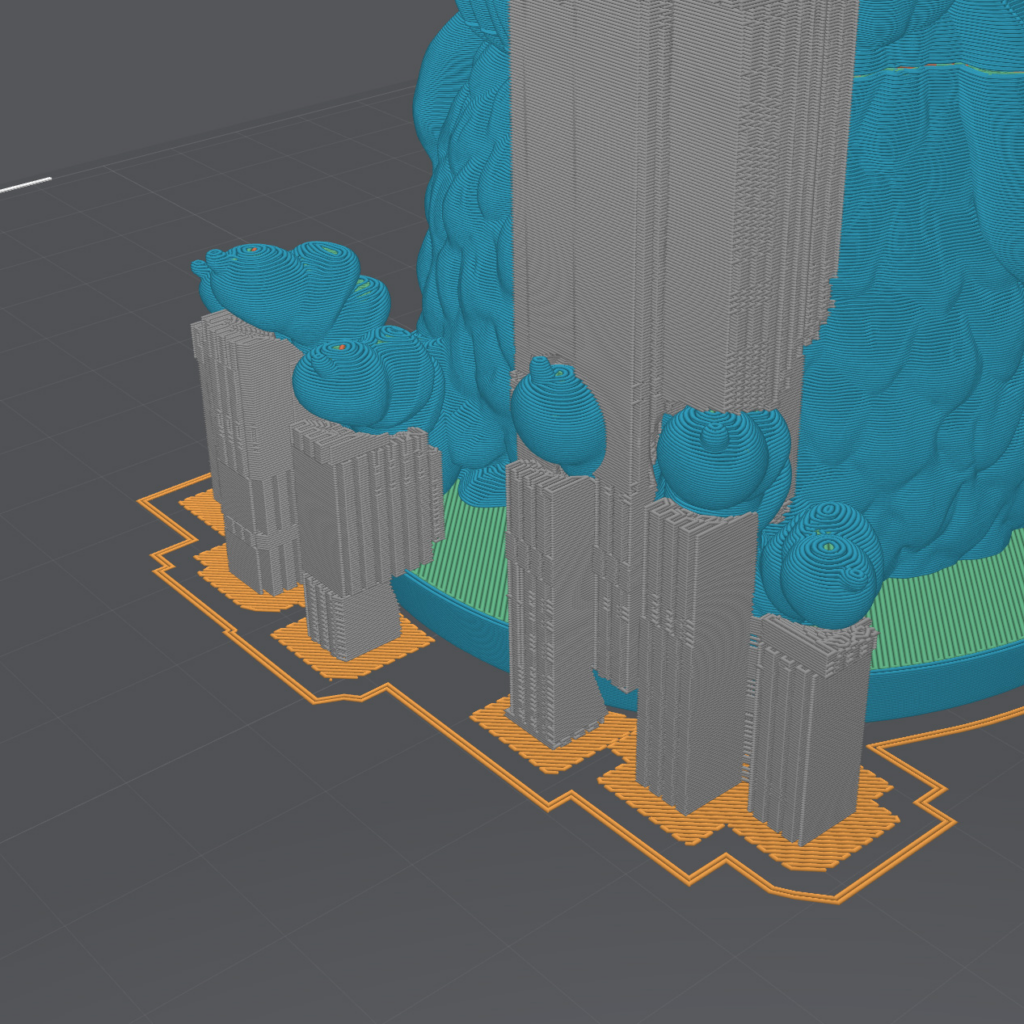
The Skirt

The skirt is roughly an outline of your print. It will surround the different parts of your print without ever touching it. The Skirt is handful in many ways. First, it never touches the part, so there’s no risk of damaging the print when removing adhesion materials like the raft or the brim. Then, it is an easy way to prime the extruded material from the nozzle in order to setup a smooth, steady and uniform flow of the material from the nozzle.
Another use of the skirt is to visually check the consistency and the even extrusion of the material from the filament prior to the actual printing of the part. It lets you observe the regularity of the fused material (it needs to have a consistent width), its shape (squeezed on the plate, but not squashed), and its actual adhesion (does it lift from the plate?)
In Lychee, you can choose the Skirt adhesion technique by selecting it in the Adhesion Type dropdown.
There are two options you can change : the Skirt Count, and the Skirt Offset.
Skirt Count
The Skirt Count is the number of loops you choose to lay around your model
Skirt Offset
The Skirt Offset is the distance between the skirt loops and the model.
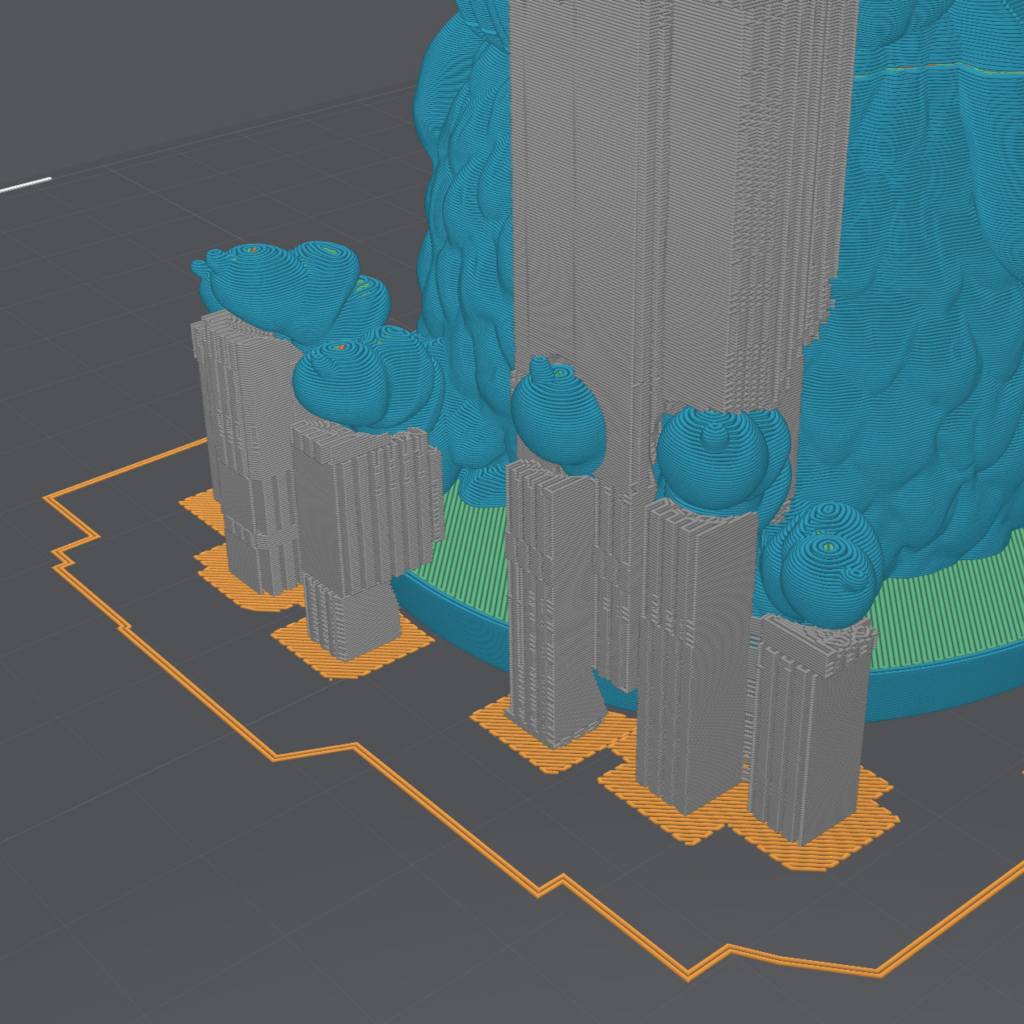
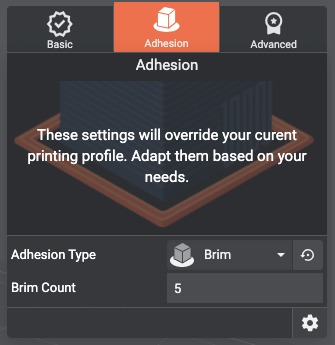
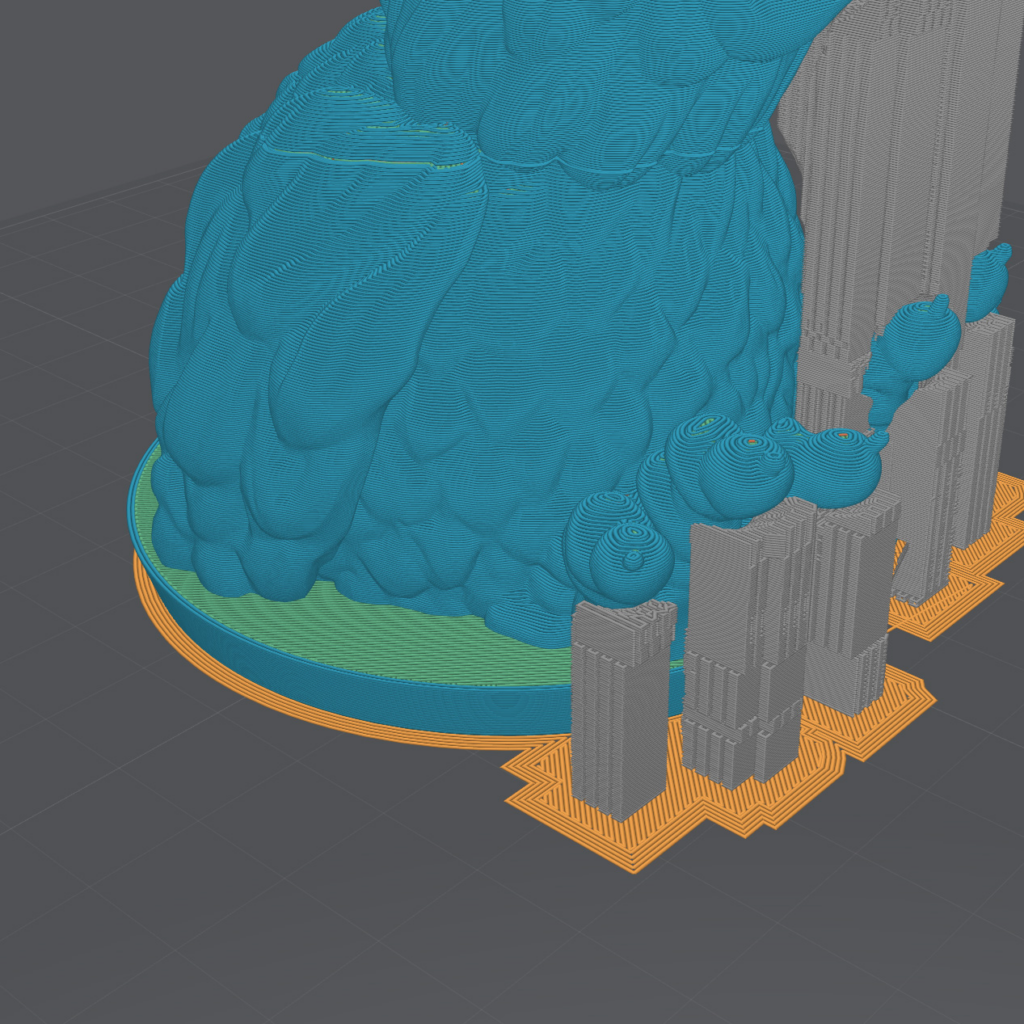
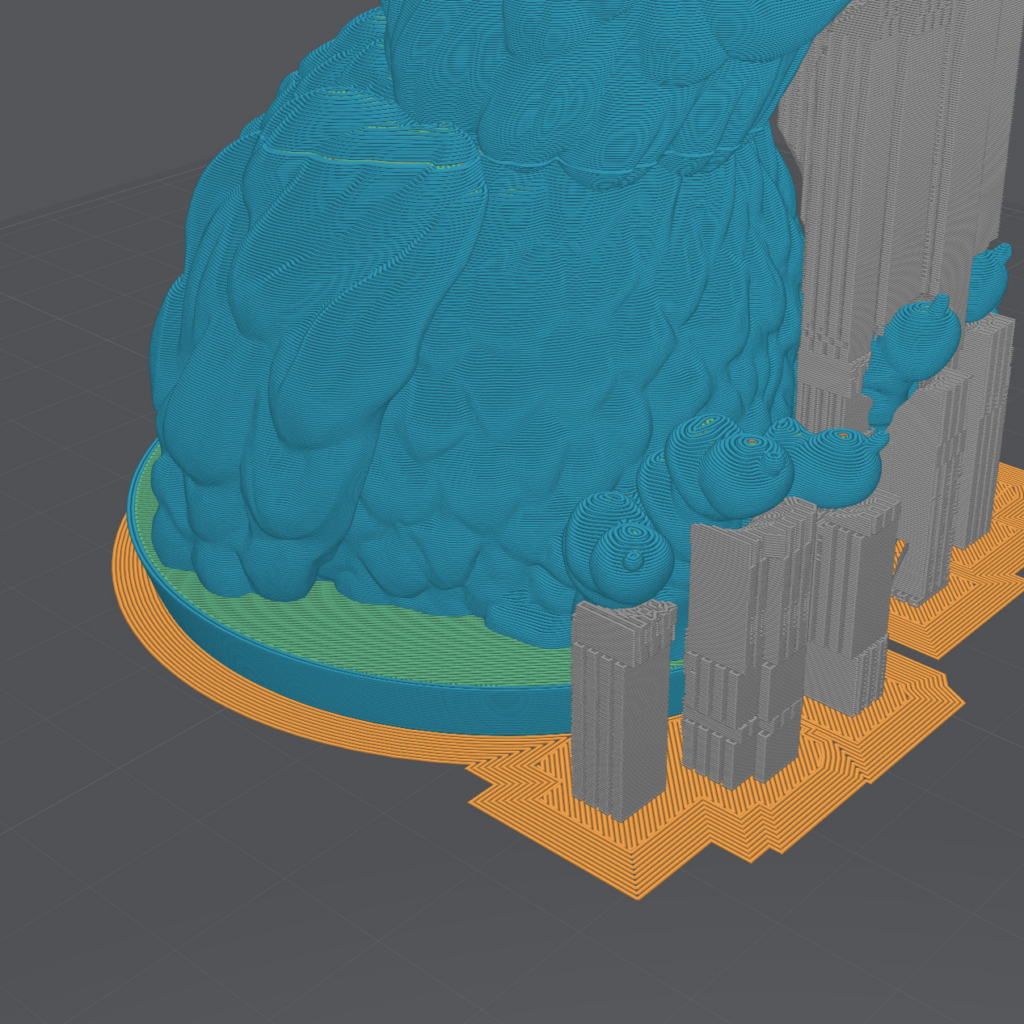
The Brim
The Brim is an extended version of the Skirt. It surrounds the model the same way, but it goes all the way touching the model. It works by extending the surface of the print and adding hold to the plate.
The brim is one of the most, if not the most efficient techniques to make the print stick to the plate. It brings pretty much the same mechanical improvements rafts bring on a correctly leveled printer and it does so without the excessive filament consumption and adding printing-time. It also has the advantages of the Skirt (priming the material, giving a clean view on extrusion flow, on adhesion and on squeezing layers) which makes it a go-to adhesion technique on most projects.
The Brim can also be easier to remove than Rafts, by gently stripping or cutting off the Brim. It has less contact area with the model and therefore is less likely to alter or destroy the model when getting rid of it.
In Lychee, you can select the Brim adhesion technique by clicking on it in the Adhesion Types dropdown menu.
Since it behaves like a skirt, but with no offset, there’s only one option you can change for brims : the Brim Count
Brim Count
The brim count is the amount of loops the brim will be made of. The higher the number, the larger the brim, and the stronger the adhesion.
Finally, there are many ways to improve the adhesion of your print onto the build plate. To know more about those techniques and processes, please refer to this article covering the subject extensively.
Last updated on
Tags: Adhesion, Brim, Build Plate, FDM, Free, Plate, Premium, Prepare, Print Fail, Print Success, Pro, Raft, Skirt