This document exposes what a slicer is and what it does as well as provides the user with a comprehensive approach to the 3D printing process. It should help you understand the topics covered in the rest of the documentation better.
The Middleman
A 3D model cannot be printed as is. Although the print in action is quite wonderful and can even appear magical, 3D printers do not print… in 3D. The 3D printing process is a superposition of relatively thick (or thin) 2D images. For example, a sheet of paper is pretty thin, but when you stack a bunch of them, it adds up and you can get something rather voluminous.
3D printing follows the same logic: the 3D printer stacks extremely thin 2D layers of material to progressively build a volume.
Imagine you’re building a brick house. The house is composed of a stacking of brick lays arranged in such a way that it will constitute a profile. Each profile is specific to a horizontal cut of the house at the specific height of each brick lay.
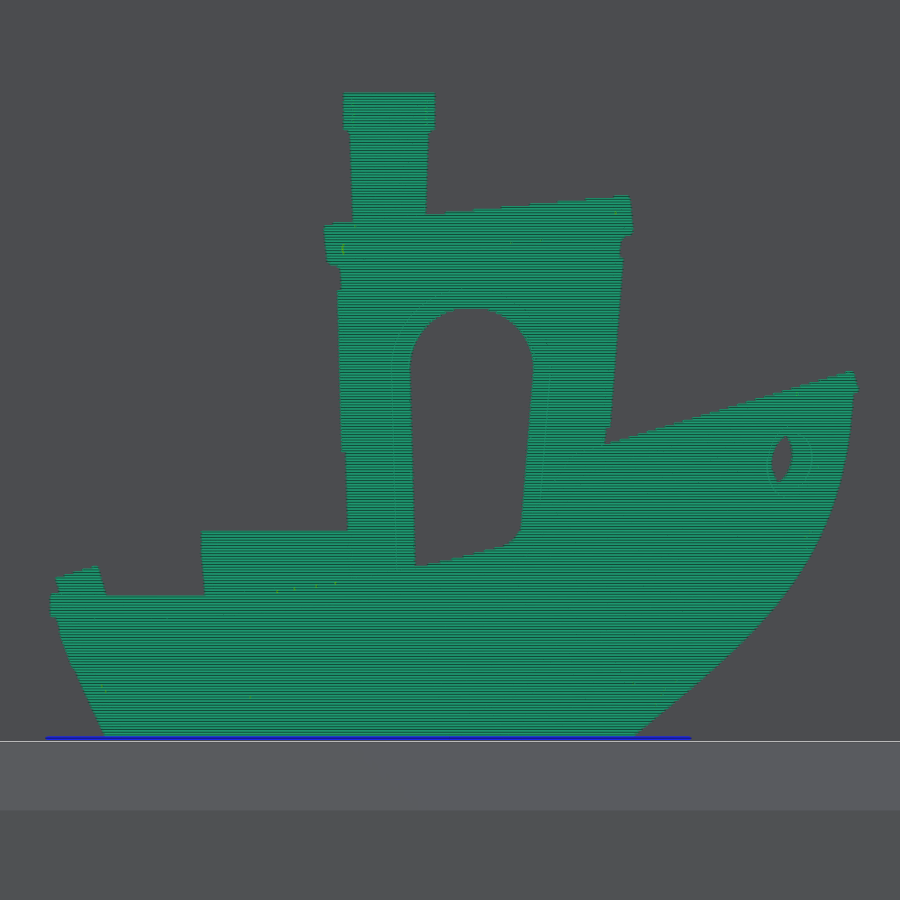
For the information to be fed to the 3D printing machine, the 3D model needs to be sliced into as many of those profiles as needed to eventually build the complex shape/volume.
The slicing process intervenes between the 3D modelling of the object and the actual printing of the object. The slicer will calculate the two-dimensional shape of each slice of the 3D model.
The printing surface/space
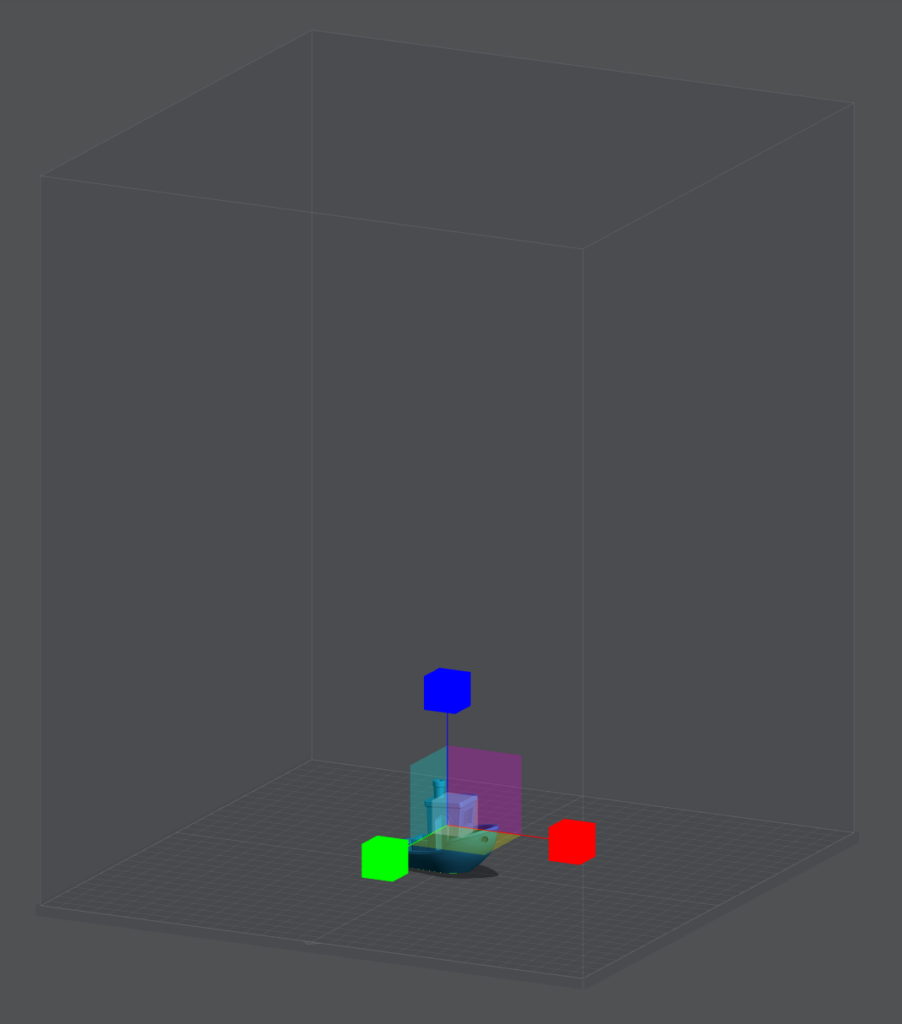
One of the main and most obvious features of the slicer is to provide the user with a comprehensive view of what’s going to be printed in reality. This allows the user to move the objects around on the build plate (the area on which the printing is going to occur), place multiple objects on the machine, arrange them to make them not overlap each other, orient them for better results/resistance, and so on…
The printing space provides the user with a visual grid on the plate to help with figuring out the actual scale of the printed object.
Manipulating the objects
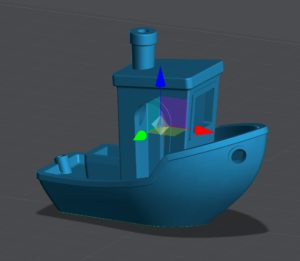
The interface offers the ability to manipulate the objects in various ways.
It allows you to scale, cut, and split the 3D models on the plate.
It can also repair the models if needed. Occasionally, the 3D models contain errors like missing lattices or “faces”, it is then necessary to repair the 3D model to complete the mesh. A model with holes in its 3D structure will fail to print.
The 3D printer can only perform the tasks it is told to perform by the slicer.
The slicer thus needs to provide the printer with comprehensive, structured and extensive information.
Since the printer is only executing the tasks defined by the provided code from the slicer, that code must also tell the printer everything it has to do. From heating the nozzle, and the plate, retracting the filament, lifting the nozzle, and many other things…
An important aspect of the printing process is to make sure the materials stick to the plate and how and where to position supports for hanging parts to print.
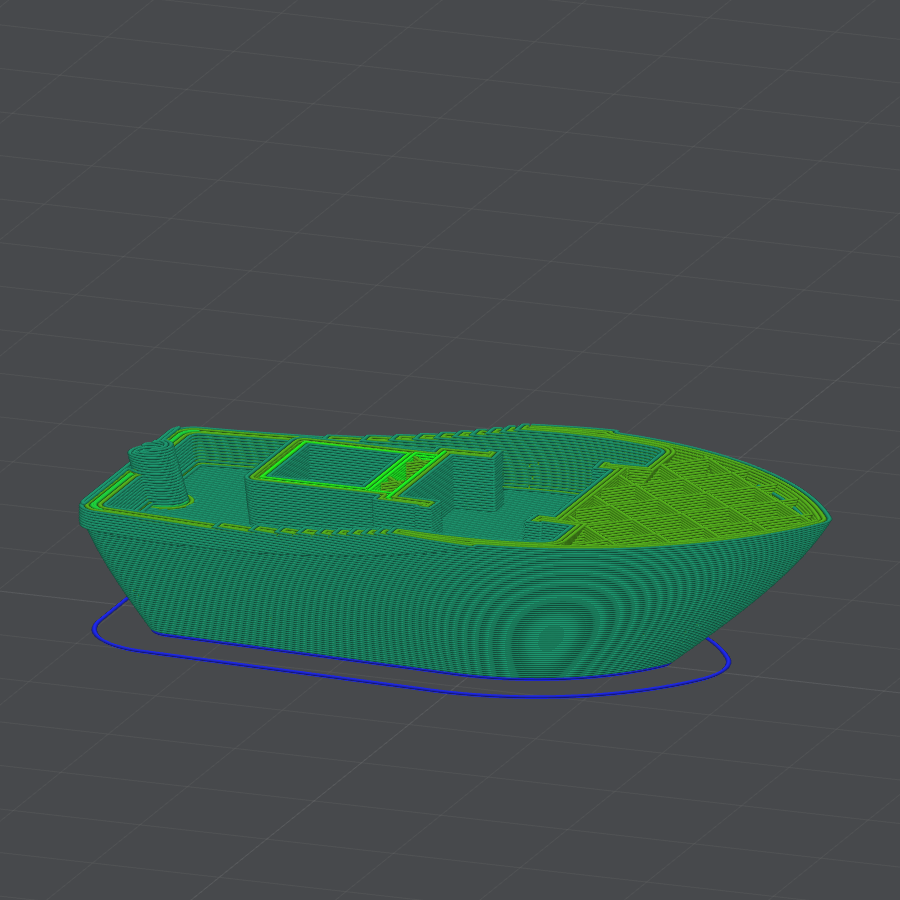
The slicer offers a visual interface for the user to manipulate the objects.
Making your life easier
Printer profiles
Printers are all different and they don’t all understand the same language. Depending on the printer model, different printers will read different file formats.
Lychee Slicer users can use more than one printer with the option to save and reuse specific settings. The feature allows you to slice 3D models according to each machine’s specifications and in the right file format.
Filament profile
Different filaments will not all behave the same depending on heat and pressure.
Some of these differences in behavior are due to the material itself. PLA, will not vulcanize at the same temperature as ABS, nor will it flow with the same viscosity. PETG has different physical properties, and so does PLA or ABS. Filament can also contain specific fibers such as wood, or even carbon. It can contain metal particles as well. All these differences in material composition will bring changes in the way they will react to heat and pressure and will require specific properties. These specifications can be defined in the Filament profile and saved for later use.
Controlling the 3D printer
Some printers come with network connectivity. Either through an ethernet connection or through WiFi. In both cases, the slicer can directly send the sliced model to the printer and initialize the printing process.
Furthermore, the printing process and progression can be followed directly from Lychee.
Both filament printers are supported as long as they come with a supported network interface and communication firmware like Klipper or Octoprint.
Note: new printers might require additional time for the network functionality to be implemented.
To connect Lychee Slicer to your printer, go to the printer’s list, click on the cog located right beside the printer name/icon, and in the settings panel, click on “Discover” in the Ethernet/WiFi section. Lychee Slicer will perform a network scan and show you the connected printers. Simply click on the printer to link it to the printer’s profile.
Once your printer is linked, the “Export Slices” panel from the Export view in Lychee Slicer will allow you to directly send the sliced GCode to the slicer to launch the printing process.
More info on printers’ WiFi/Network connectivity with Lychee here: https://doc.mango3d.link/doc/technical-documentation/technical-issues/network-wifi-issues-with-lychee-slicer/
Last updated on
Tags: FDM