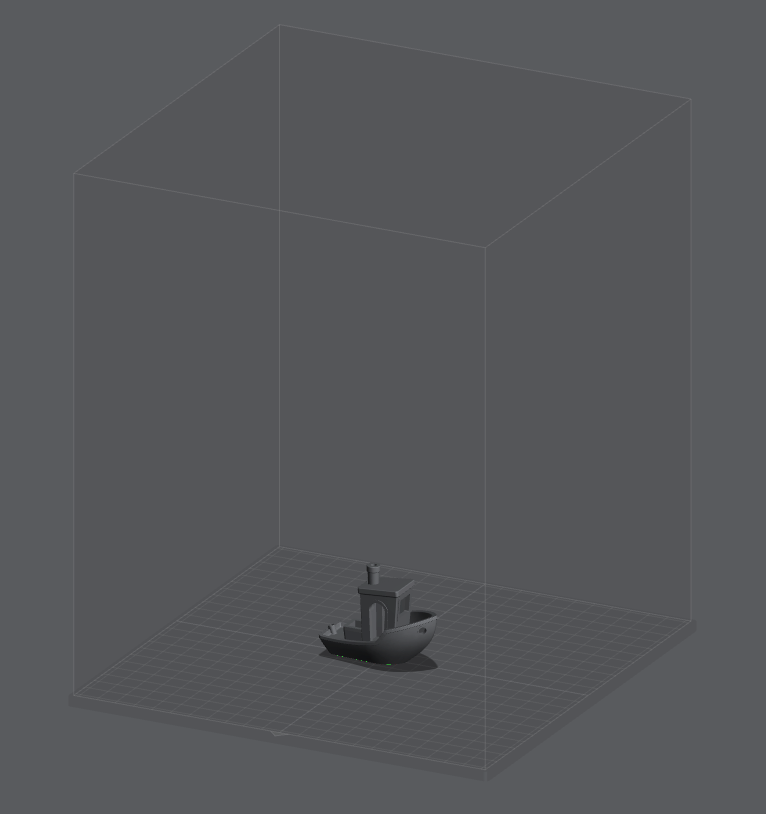
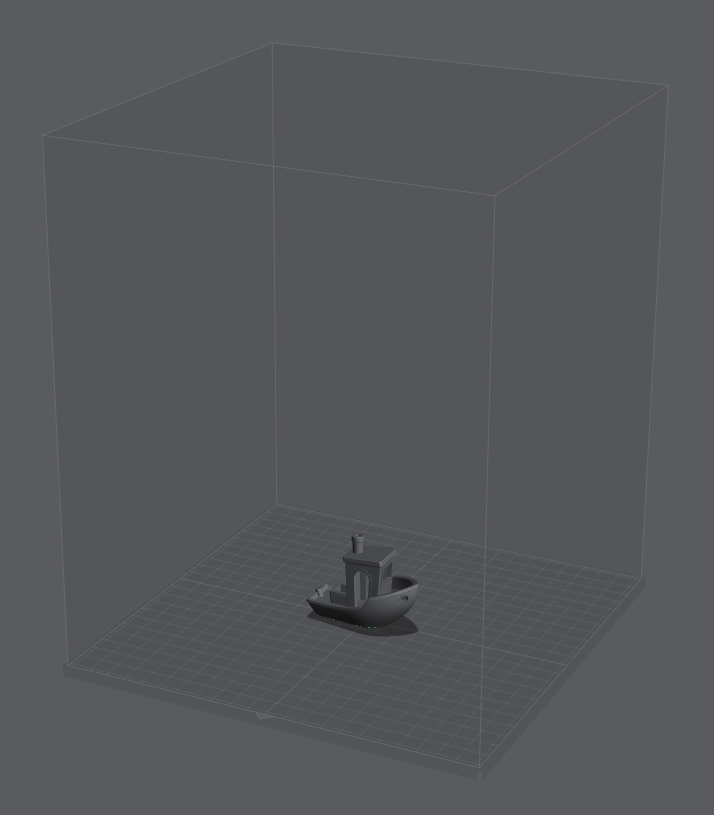
To get the best view of your models and processes while preparing your prints, you can set up the display to fit your needs.
Here are the display options for the 3D view:
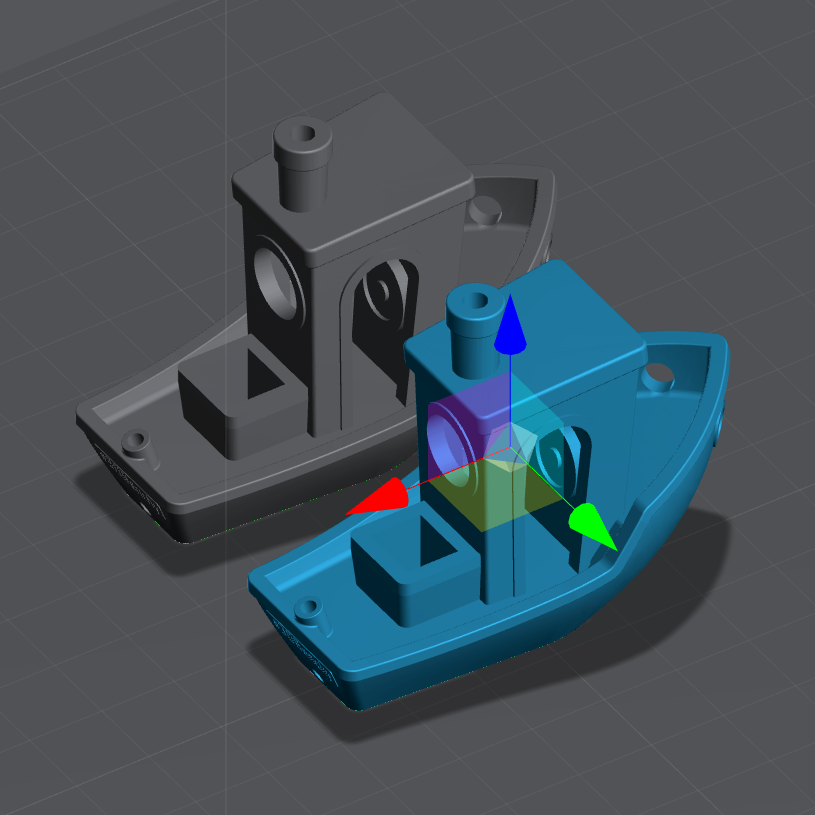
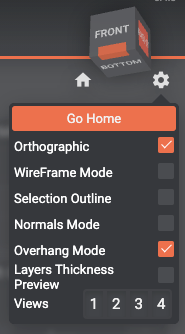
Orthographic view
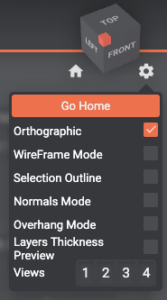
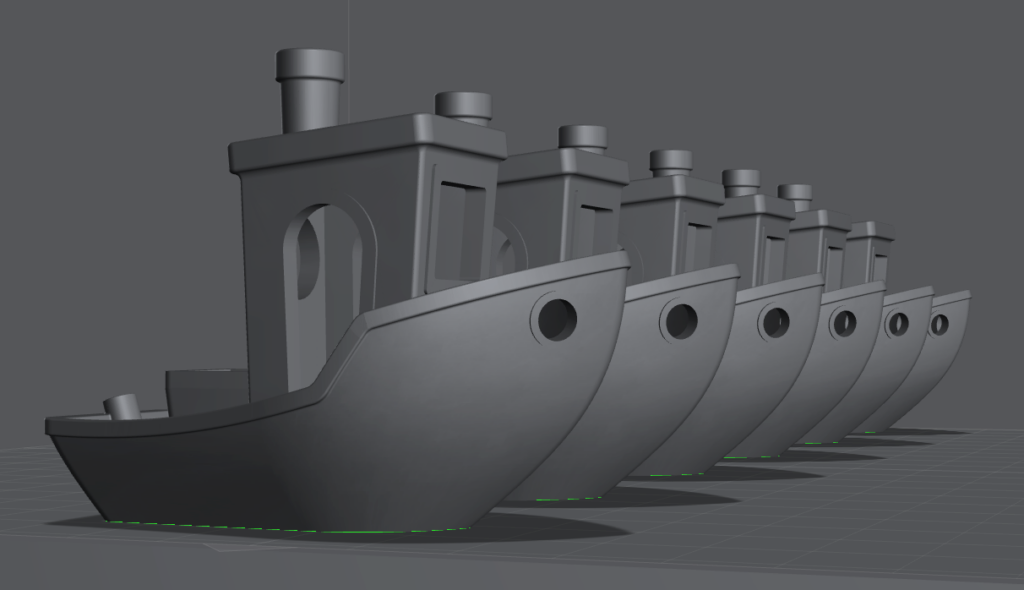
The orthographic view is a theoretical view of the objects. It allows to have a better view of the models, without any perspective distortion.
When unchecked, this option toggles the view to a perspective view of the scene and the object. As opposed to the orthographic view, the perspective view makes use of the vanishing points and horizon line.
The main difference between the two is perspective. The perspective will allow you to have a better spatial representation, while the orthographic view is more descriptive when it comes to the dimensions and proportions of the object itself. The objects in the distance will have the same scale as the ones at the front.
Wireframe mode

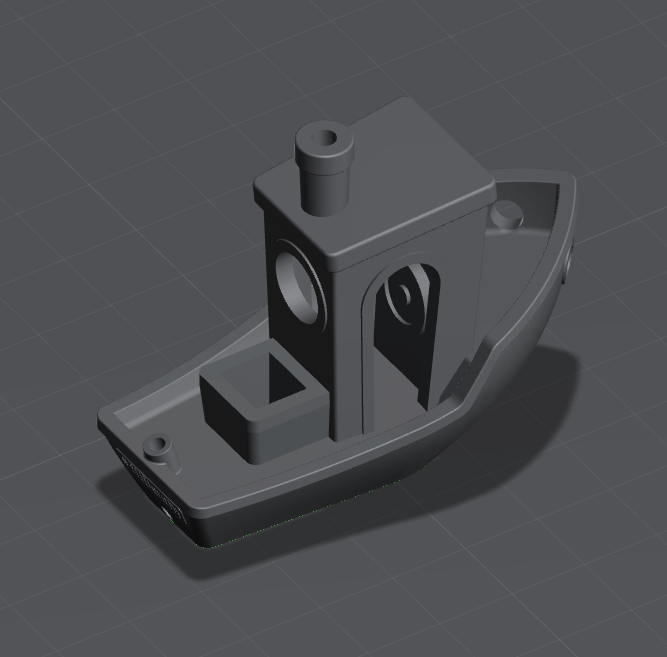
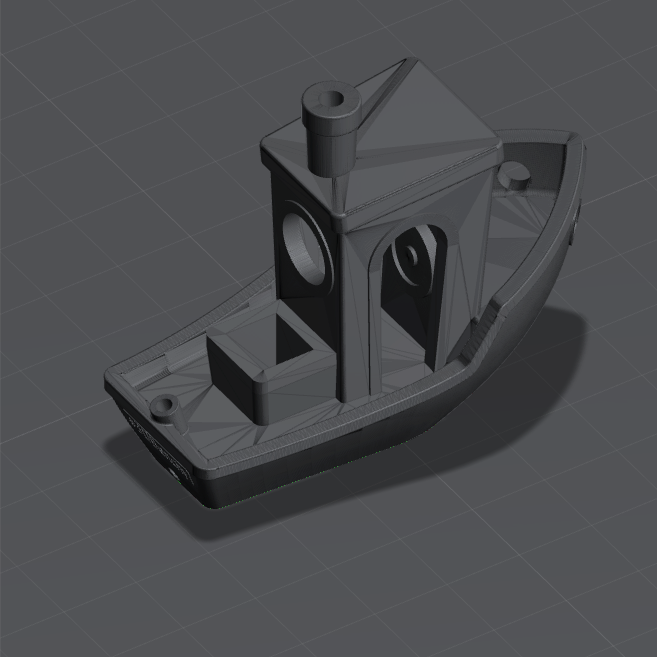
The WireFrame Mode shows the 3D geometry of the models. It allows you to show/hide the edges of your models to have a better understanding of it, and how it will print.
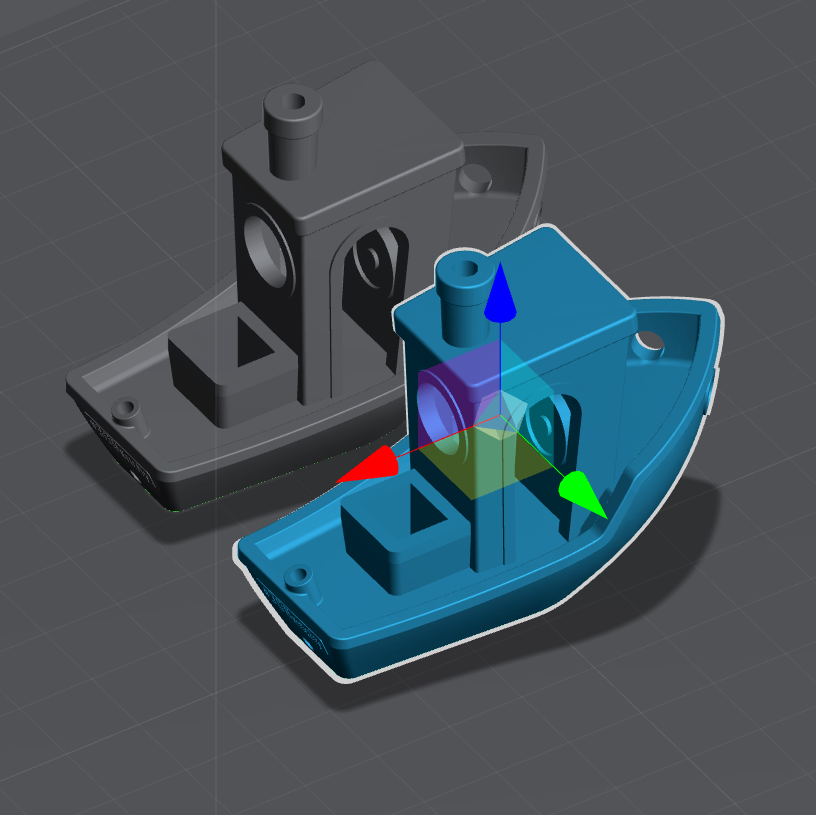
Selection Outline
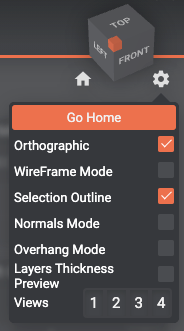
Selection Outline will highlight the visual boundaries of your selection from your current point of view. It allows you to have a better view of the overlapping models.
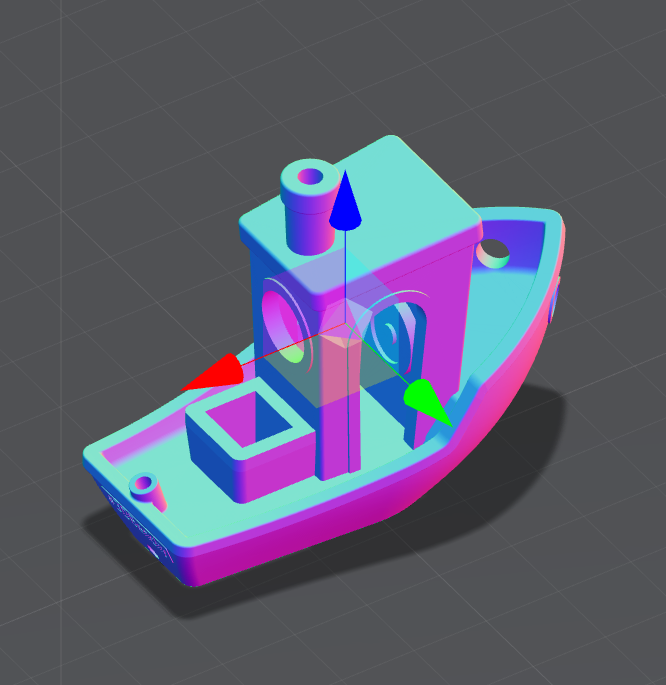
Normals mode
In 3D modelling, the normal of a surface is its orientation. It is an indicator of the inner and outer faces of a polygon. The normal is represented by a color. If a normal is inverted, the polygon will appear to be transparent. Note that most of the normal errors of a model will automatically be repaired by Lychee Slicer upon import.
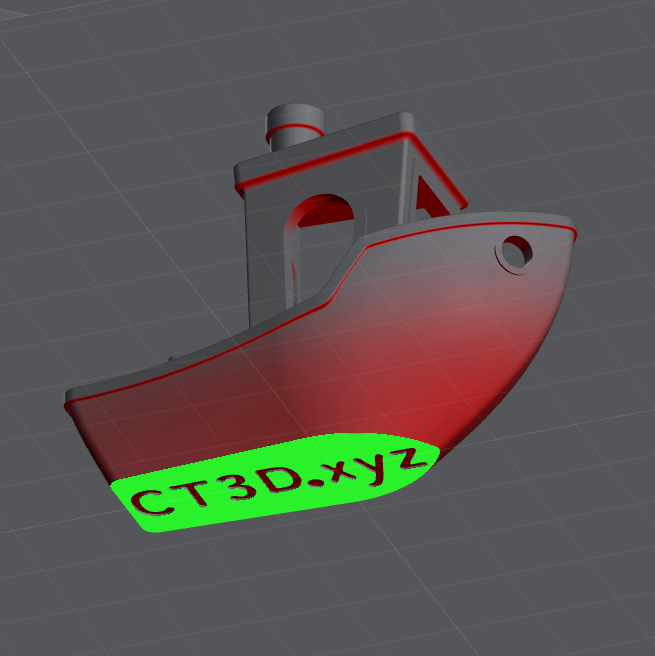
Overhang Mode
Highlighting the overhangs allows you to focus on the parts of your model that have no support, and may require some. In Overhang Mode, the red parts of the model are actual overhangs.
Note that all overhangs might not require supports.
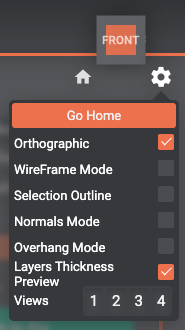
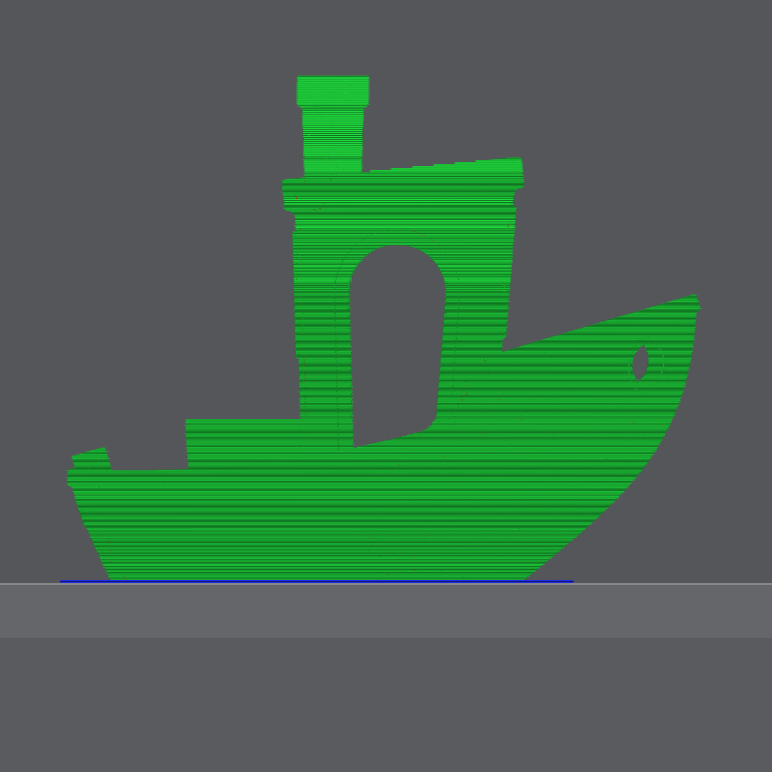
Layer Thickness Preview
The Layers Thickness preview allows you to formally display the thickness of the different layers.
It comes in pretty handy when you need to make sure some part of your print will reach the actual boundaries of your print. It also allows you to visually understand and interpret the variable layer height setting in your print, and see if the minimum/maximum layer height needs to be adjusted.
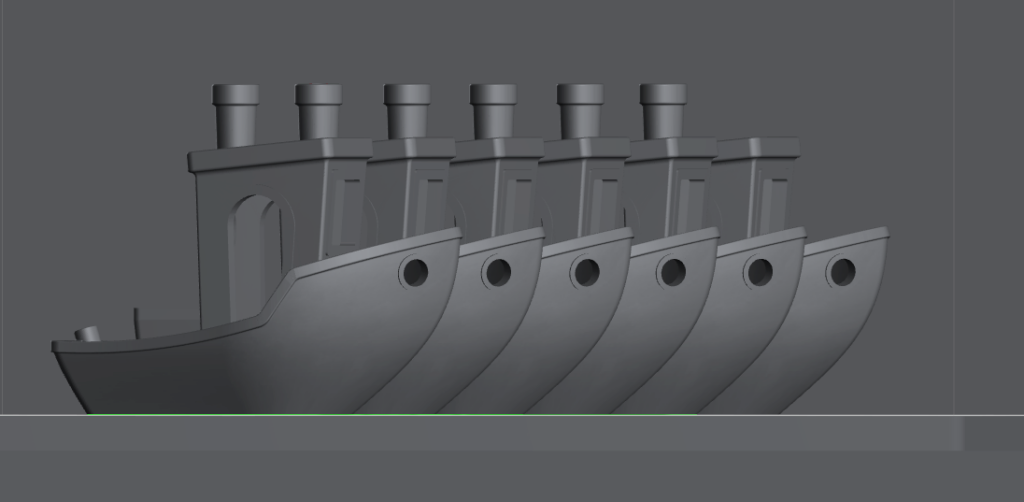
Views Presets
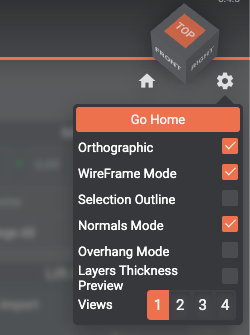
You can define up to 4 views preset that match your needs and to be recalled easily.
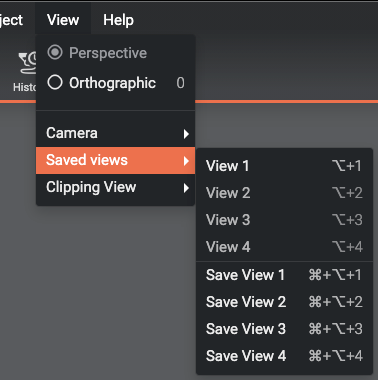
To save a view (orientation, zoom factor & orthographic axonometry) in the Views presets, click on “View” in the top-level menu.
The “View” menu can also be used to set up the views as presets.
Note that when you use the saved views, the viewing options will not be affected. It will only affect camera position and orientation, but won’t change any of the wireframe, selection outline, normals, overhangs nor layers thickness preview options.
Easy access to those presets is also possible by using keyboard shortcuts. On macOS, use the Command + Option + 1 to 4 to switch to corresponding saved view, On Windows, hotkeys are Ctrl + Shift (Maj) + 1 to 4.
Last updated on